Note: This guide is based on a custom Laravel + Vue.js + MySQL project setup. Your configuration may differ depending on your Laravel version, infrastructure, or environment (e.g., Docker, Sail, Redis, queue workers, etc.)
1. Clone and Prepare the Project#
First, get the source code and initialize the environment file:
git clone repository-url
cd project-folder
cp .env.example .env
composer install
php artisan key:generateWhy Generate APP_KEY?#
The APP_KEY is used by Laravel to encrypt user sessions and other sensitive data (like cookies and encrypted strings). Without it, your application will throw a 500 error or display:
No application encryption key has been specified.
Running php artisan key:generate automatically adds a secure random string to your .env file.
2. Initial Directory Preparation#
Before running any commands, ensure that the following core directories exist in your project root. These are often excluded from version control but are vital for the application to function:
publicstoragebootstrap
3. Verify Environment Runtimes#
Ensure your local environment has the necessary versions of PHP, Node.js, and NPM. Checking Composer is also crucial as it manages all your PHP dependencies.
php -v; composer --version; node -v; npm -vChecking Composer ensures that the dependency manager is globally accessible and compatible with your PHP version.
4. Environment Configuration (.env)#
Configure your .env file to point to your local development server:
APP_URL="http://localhost:8000"
ASSET_URL="http://localhost:8000"Next, ensure your MySQL service is active and the database credentials match your local setup:
DB_CONNECTION=mysql
DB_HOST="localhost"
DB_PORT="3306"
DB_DATABASE="db"
DB_USERNAME="root"
DB_PASSWORD=""5. Database Migrations and Data Seeding#
Once your database is configured, you need to set up the tables and initial data.
If the project is new or has a clean migration history, run:
php artisan migrate
php artisan db:seedHandling Complex Databases#
If the database is complex or migration files are missing/broken, it’s often easier to import a SQL dump from a working environment.
Exporting (from source):
mysqldump -u username -p database_name > backup.sqlImporting (to local):
mysql -u root -p sql_kiw < backup.sql6. Installing Dependencies#
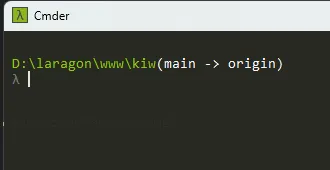
Open your terminal (e.g., Laragon’s built-in terminal) and navigate to your project directory.
Install the PHP dependencies using Composer (if you haven’t already in step 1):
composer install7. Troubleshooting Common Issues#
Storage & Bootstrap Permission Issues#
If you encounter “Permission denied” errors when Laravel tries to write logs or cache, you may need to grant write access to specific directories:
chmod -R 775 storage
chmod -R 775 bootstrap/cacheBootstrap Cache Errors#
If you encounter errors related to the bootstrap directory during installation:
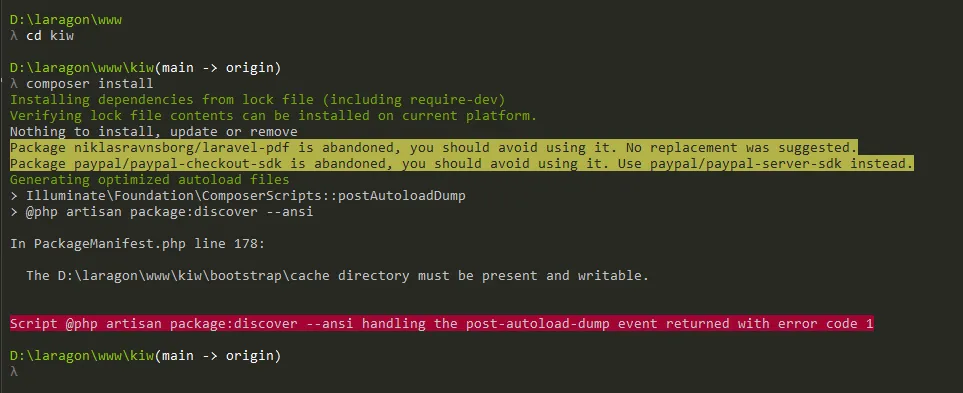
A common fix is to ensure the bootstrap/cache directory exists and is writable. In some cases, copying the bootstrap folder structure from a fresh Laravel installation or a known working environment can resolve initialization issues.
Redis Connection Issues#
If your local environment (like a default Laragon setup) does not have Redis installed, you might see the following error during package:discover:
Script @php artisan package:discover --ansi handling the post-autoload-dump event returned with error code 1To fix this, switch your drivers to use the file or database system in your .env file:
From:
CACHE_DRIVER=redis
SESSION_DRIVER=redis
QUEUE_CONNECTION=databaseTo:
CACHE_DRIVER=file
SESSION_DRIVER=file
QUEUE_CONNECTION=syncAfter updating the configuration, run the installation again to confirm success.

8. Serving the Application#
Start the local development server:
php artisan serveIf the application fails to load, enable debug mode in .env to see detailed error messages:
APP_DEBUG=trueTo ensure you are not seeing stale configurations, run the following maintenance commands:
php artisan config:clear
php artisan cache:clear
php artisan view:clear
php artisan route:clear9. Frontend Development (Vite & Vue.js)#
For projects using Vue.js and Vite, you must install the Node dependencies and start the development server.
Install dependencies:
npm install
# Use --legacy-peer-deps if you encounter version conflicts
# npm install --legacy-peer-depsVite Environment Variables#
Some projects rely on specific environment variables in the frontend. You might need to add:
VITE_APP_NAME="${APP_NAME}"This allows Vite to access your Laravel application name during the build process or development.
Run the Vite development server:
npm run dev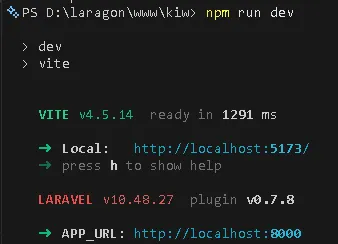
The frontend source files are primarily located in resources/js. With Vite running, any changes you make to these files will be reflected instantly in your browser.
Quick Setup Checklist#
- Clone repository
- Create
.envfrom.env.example - Run
composer install - Run
php artisan key:generate - Configure
DB_*in.env - Run
php artisan migrate --seed(or import SQL) - Run
npm install - Run
npm run dev - Run
php artisan serve