
OpenAI JavaScript API: Building a Recipe Blog

In this project, we’ll build a recipe generator that provides tailored recipe recommendations by providing the model with context about our dietary preferences, ingredients on hand, and cuisine favorites. We’ll practice prompt engineering to format the model output recipes in the best format for our blog.
Let’s get cooking!
Start the project by importing the OpenAI class from the openai library.
import OpenAI from "openai";
Create a string variable named apiToken to store your OpenAI API key. Make sure this token is kept secure and never published to the public. To access the token you can create it on the following OpenAI page: https://platform.openai.com/settings/profile?tab=api-keys
const apiToken = 'your-openai-api-key';
Initializing the OpenAI Client with the API Token: When creating an instance of the OpenAI class, pass the API token as an option to authenticate your requests.
const client = new OpenAI({
apiKey: apiToken
});
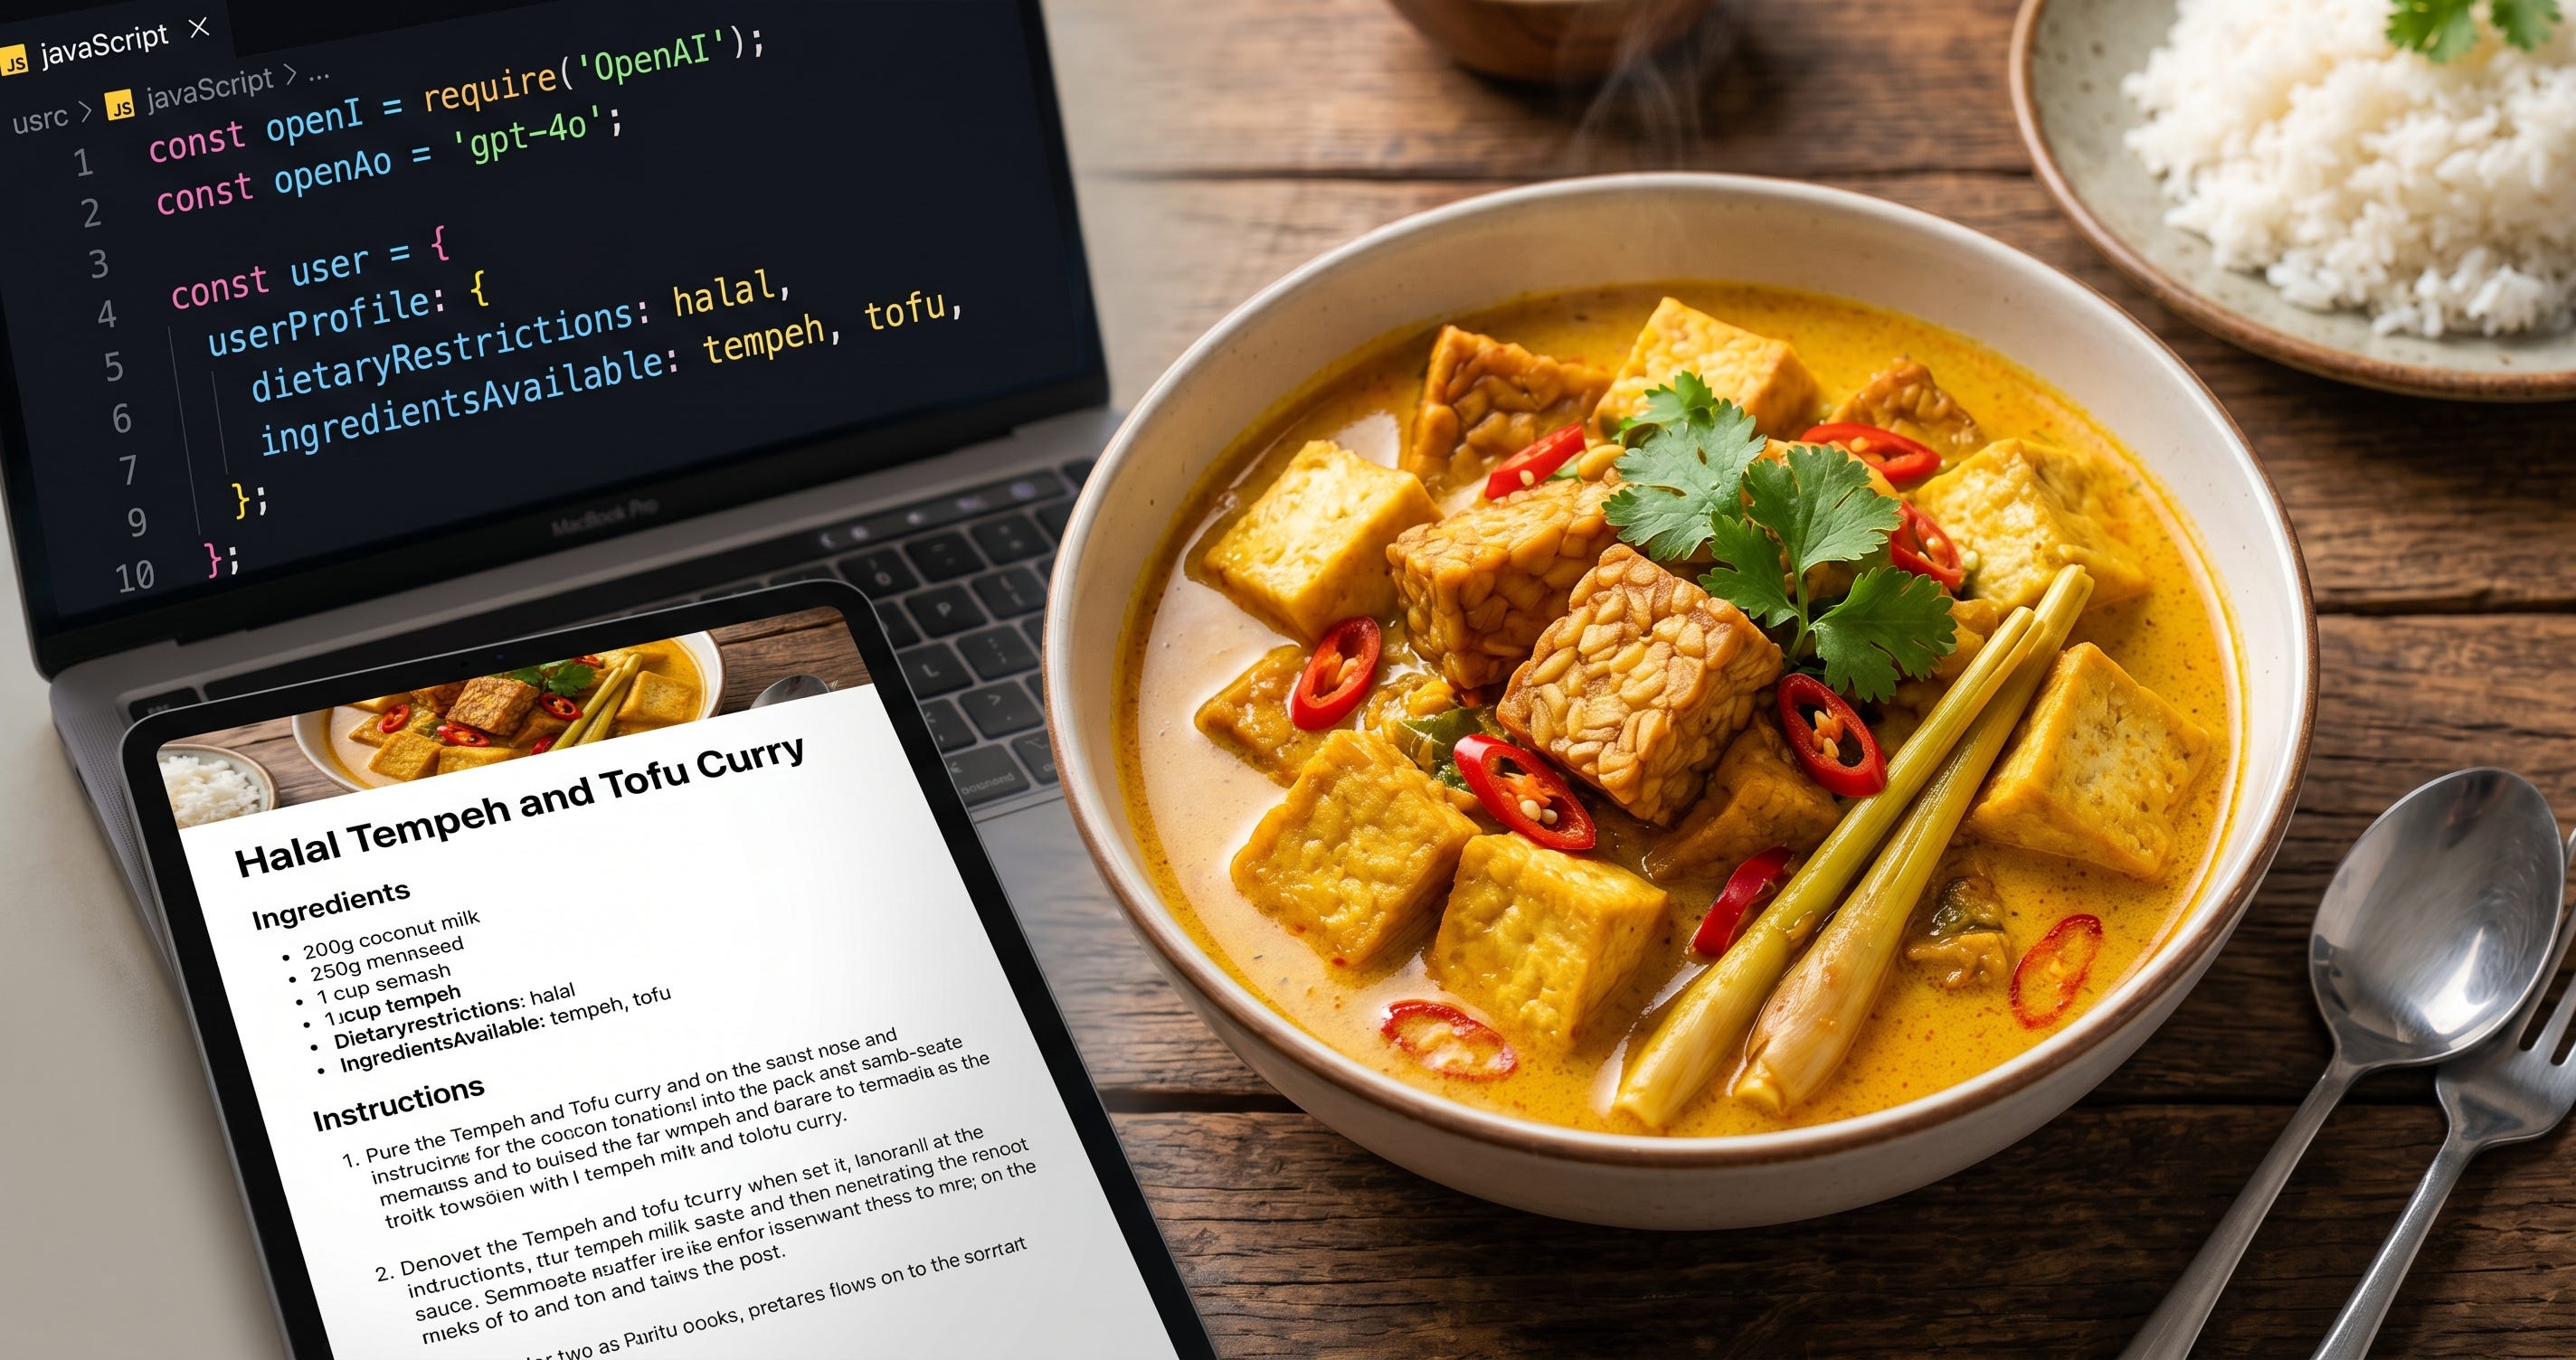
Create an userProfile object, you can update the dietary restrictions, cuisine preferences, and ingredients to reflect Indonesian cuisine. Here is an example:
const userProfile = {
dietaryRestrictions: 'halal',
cuisinePreferences: 'Indonesian, Sundanese, Javanese',
ingredientsAvailable: 'tempeh, tofu, coconut milk, chili, lemongrass'
};
This object includes:
dietaryRestrictionsset to'halal'cuisinePreferencesset to'Indonesian, Sundanese, Javanese'ingredientsAvailableset to'tempeh, tofu, coconut milk, chili, lemongrass'
Create an object called systemPrompt with the specified instructions for the AI, use the following syntax:
const systemPrompt = { role: 'system', content: 'Generate an HTML code for a recipe blog that considers dietary restrictions, cuisine type, and ingredients.'
};
Create a string variable named **userContent1** that begins the user prompt. This string should start with a sentence indicating your intention to create a recipe blog post. Then, proceed to include the relevant data from the **userProfile** object, making sure to specify what each piece of data from **userProfile** represents.
const userContent1 = I want to create a recipe blog post. Here are my dietary restrictions: ${userProfile.dietaryRestrictions}. My cuisine preferences include: ${userProfile.cuisinePreferences}. The ingredients I have available are: ${userProfile.ingredientsAvailable}.;
Construct a string called userContent2 that outlines the structure of a blog post, use the following syntax:
const userContent2 = Please provide a blog post with a title, description, ingredients, and instructions. Format the ingredients and instructions as follows: Ingredients should be bulleted, and instructions should be numbered.;
Construct a string named userContent3 that establishes certain limitations for the recipe creation, use the following syntax:
const userContent3 = The recipe must use only the listed ingredients and should result in a single blog post with instructions not exceeding six steps.;
Define an object named userPrompt that holds the instructions for the AI, use the following syntax:
const userPrompt = {
role: 'user',
content: ${userContent1}n${userContent2}n${userContent3}
};
This object includes the role key with the value "user" and the content key with the concatenated strings userContent1, userContent2, and userContent3, separated by newline characters for readability.
To initiate a chat completion using the client variable, follow these steps:
Use the
client.chat.completions.createmethod.Pass the
modelargument with the value"gpt-4o-mini"or"gpt-4o".Pass the
messagesargument with an array containingsystemPromptanduserPrompt.Assign the return value to a variable called
response.
Here’s the code:
const response = await client.chat.completions.create({
model: "gpt-4o",
messages: [systemPrompt, userPrompt]
});
To output the chat completion reply content to the terminal, use the following syntax:
console.log(response.choices[0].message.content);
This will print the content of the AI’s reply to the terminal. Make sure to place this line after the response variable has been assigned.
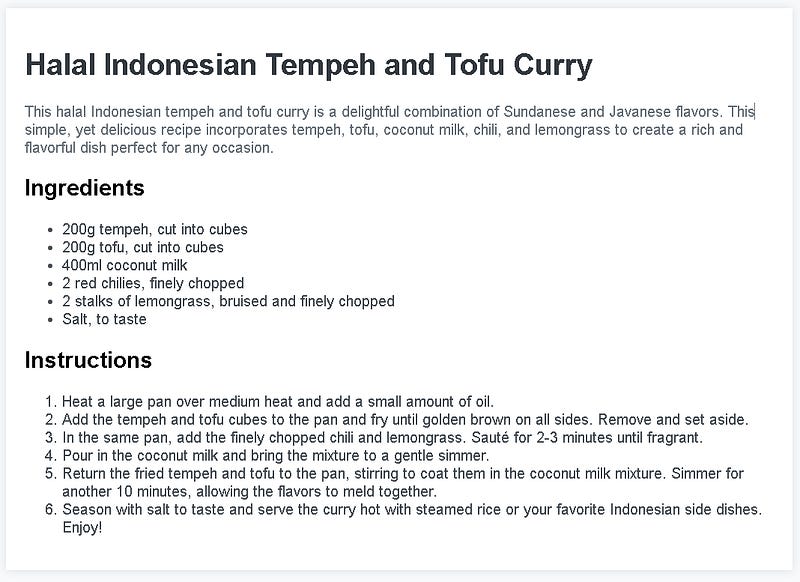
The result of this process should be HTML code that is prepared for review and can then be published on the website. Here is an example of the response result:
<!DOCTYPE html>
<html lang="en">
<head>
    <meta charset="UTF-8">
    <meta name="viewport" content="width=device-width, initial-scale=1.0">
    <title>Halal Indonesian Tempeh and Tofu Curry</title>
    <style>
        body {
            font-family: Arial, sans-serif;
            margin: 0;
            padding: 20px;
            background-color: #f8f9fa;
        }
        .container {
            max-width: 800px;
            margin: auto;
            background-color: #fff;
            padding: 20px;
            box-shadow: 0 0 10px rgba(0, 0, 0, 0.1);
        }
        h1 {
            color: #343a40;
        }
        p {
            color: #6c757d;
        }
        ul, ol {
            color: #495057;
        }
    </style>
</head>
<body>
    <div class="container">
        <h1>Halal Indonesian Tempeh and Tofu Curry</h1>
        <p>This halal Indonesian tempeh and tofu curry is a delightful combination of Sundanese and Javanese flavors. This simple, yet delicious recipe incorporates tempeh, tofu, coconut milk, chili, and lemongrass to create a rich and flavorful dish perfect for any occasion.</p>

        <h2>Ingredients</h2>
        <ul>
            <li>200g tempeh, cut into cubes</li>
            <li>200g tofu, cut into cubes</li>
            <li>400ml coconut milk</li>
            <li>2 red chilies, finely chopped</li>
            <li>2 stalks of lemongrass, bruised and finely chopped</li>
            <li>Salt, to taste</li>
        </ul>

        <h2>Instructions</h2>
        <ol>
            <li>Heat a large pan over medium heat and add a small amount of oil.</li>
            <li>Add the tempeh and tofu cubes to the pan and fry until golden brown on all sides. Remove and set aside.</li>
            <li>In the same pan, add the finely chopped chili and lemongrass. Sauté for 2-3 minutes until fragrant.</li>
            <li>Pour in the coconut milk and bring the mixture to a gentle simmer.</li>
            <li>Return the fried tempeh and tofu to the pan, stirring to coat them in the coconut milk mixture. Simmer for another 10 minutes, allowing the flavors to meld together.</li>
            <li>Season with salt to taste and serve the curry hot with steamed rice or your favorite Indonesian side dishes. Enjoy!</li>
        </ol>
    </div>
</body>
</html>
To view the output of an HTML script, you can create an HTML file on your local computer and then open it in a browser or you can also use an online site to view the HTML results, such as https://html.onlineviewer.net
Here is a visual display of the HTML:
This tutorial showcases how to leverage the OpenAI JavaScript API to create a tailored recipe blog generator. By integrating dietary preferences, available ingredients, and specific cuisine choices into the model’s prompts, you can generate customized, blog-ready recipes with minimal effort. Through this project, we’ve demonstrated the power of prompt engineering and API interaction to build dynamic content that meets users’ needs, offering a scalable solution for personalized recipe creation on your blog.
Thanks to: Codecademy